


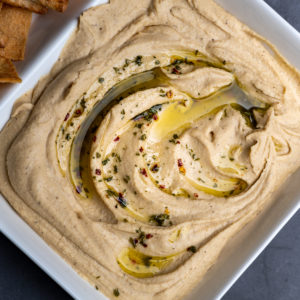
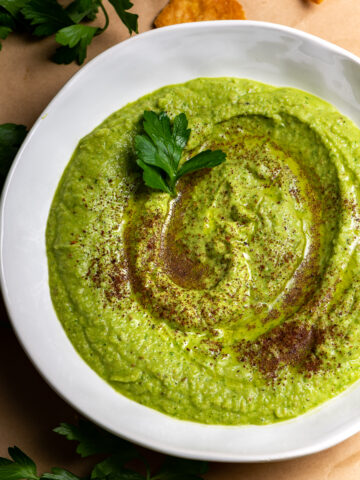
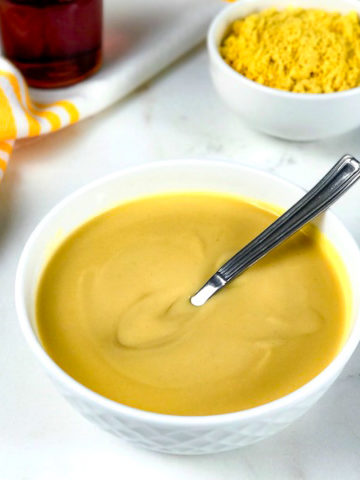
A quick, simple, homemade hummus that's smooth, creamy, garlicky, and delicious. It can be eaten by the spoonful, with pita, crostini, or crudité. Makes a perfect dip, snack, or spread, and only takes minutes to prepare.
Ok, let me go full disclosure on that last sentence. It only takes minutes to prepare if you don’t peel the chickpeas one by one. Otherwise, add another 10 minutes or more to the prep time. I have to admit, I felt a little foolish standing at the counter peeling chickpeas. That's ten minutes or more of my life that I won't get back. Is it really necessary? To peel, or not to peel, that is the question. The taste was the same as expected. Can you tell which is which? Was it worth my time?

The left is peeled and no, I don't think it was worth the time peeling each individual chickpea. I'll admit, I've only peeled the chickpeas one by one twice and that was because I was writing this post and needed to see for myself if it made a difference. I can honestly say that it didn't. But, I understand that for some, it may be important, so I wanted to find a way to make it easier to peel these little chickpeas without making it a chore.
A simple hack to peel chickpeas...
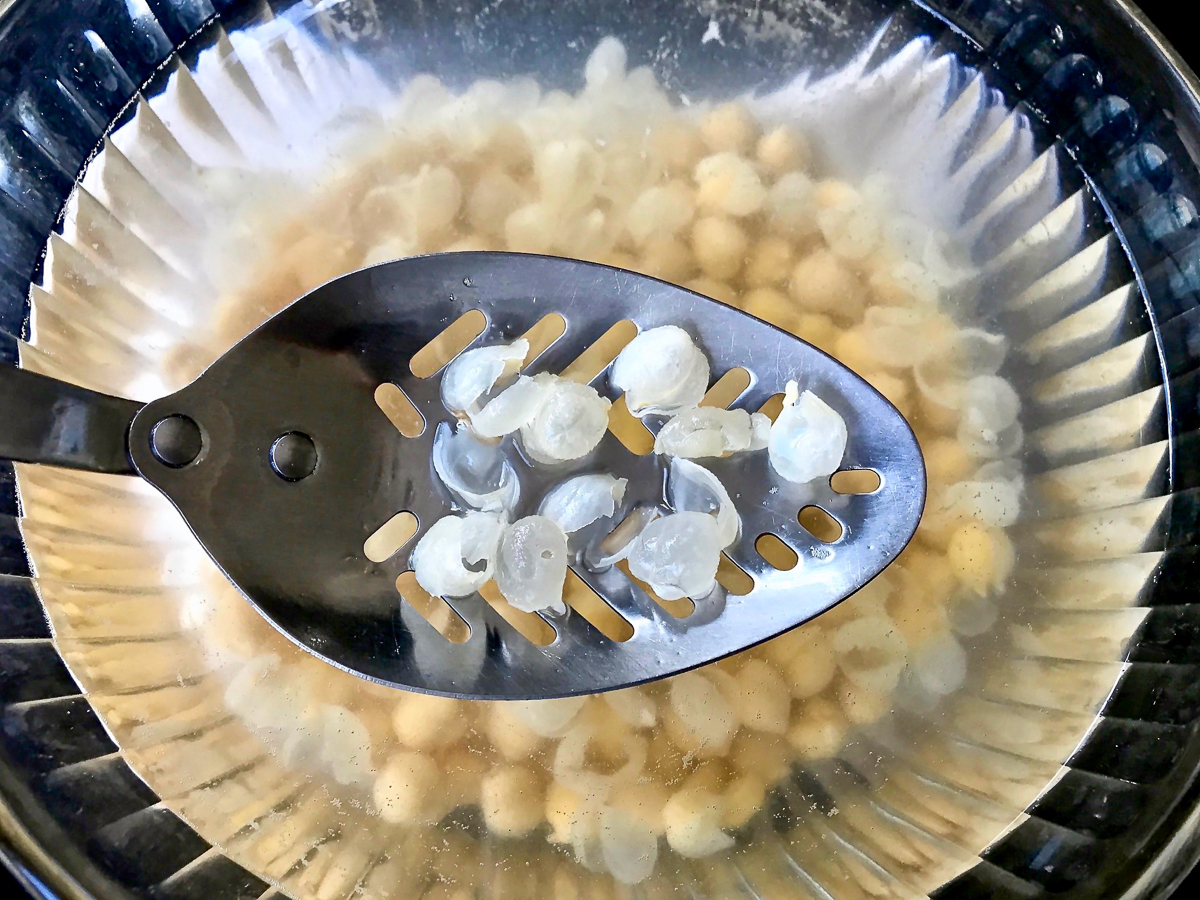
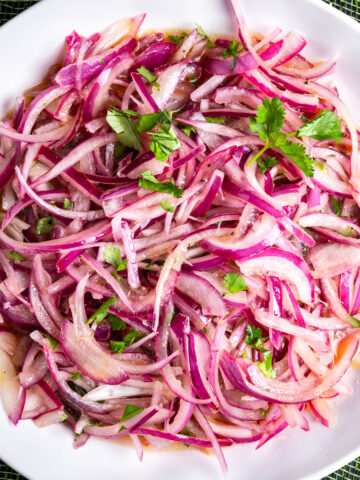
Then I remembered what my Mom and aunt Renee taught me about removing the membranes of onions when making salsa criolla, which is a delicious red onion dressing. We put the onions in a bowl of cold water and "wash" the sliced onions with our hand by squeezing and rubbing. I put the chickpeas into a bowl and covered them with some cold water. I grabbed a handful of beans and gently rubbed, squeezed, and squished them around and the peels magically came off and floated to the top. HA! From there, you can remove the peels with your hand or a slotted spoon. It's a better method than standing there peeling chickpeas, don't you think?
You decide if you want to peel or not. If you do, after removing the peels, drain the chickpeas. Process the garlic cloves first to ensure they get minced without interference from the other ingredients. Then add remaining ingredients. When processing the hummus, make sure to let the food processor run for a minute or two to ensure you get a smooth texture. You can also use a high powered blender to make this, but you may have to add a little more water to get it going.
If you don’t have or like tahini, then you can substitute peanut butter. I sometimes make it with peanut butter because that's readily available in my pantry and I like the flavor.
As for the can of chickpeas, they are sold in 15 and 16 ounce cans. Either one will work and I’ve used both with no noticeable difference. Use fresh water to thin the hummus and not the liquid from the can and add 2 - 3 tablespoons depending on the consistency you are after. Start with 2 first as you can always add another.
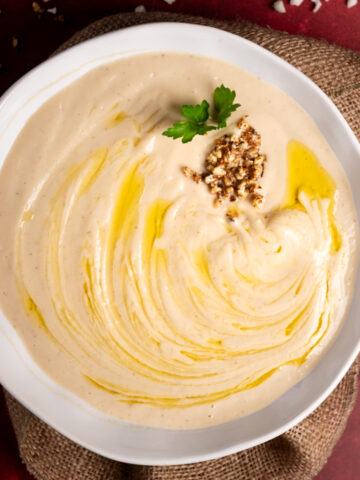
I top this with a drizzle of extra virgin olive oil and:
a sprinkling of sesame seeds
crushed red pepper
chopped fresh parsley
chopped fresh cilantro
paprika
sumac
The dressing not only add a burst of flavor with every scoop, it also livens up the dull beige color of hummus.

This makes a great snack and my family devours it whenever it's made. If serving at a party, create a platter of veggies, pita chips, and/or crostini. It’s a good filler!
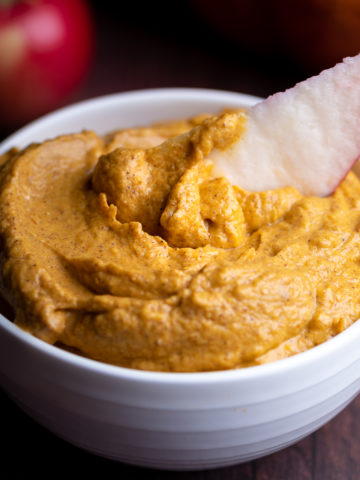
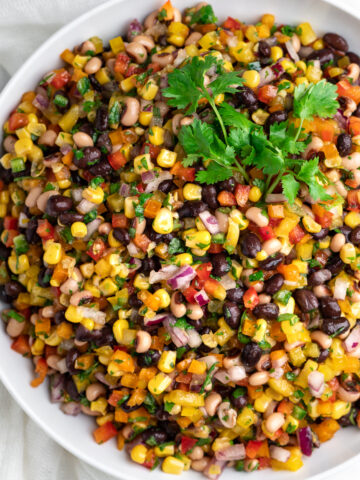
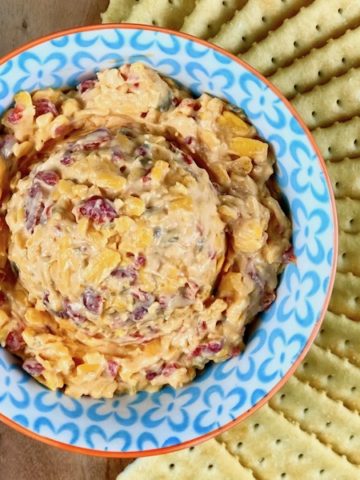
Try some of my other dips:
Life is too short for mediocre food.
Have you seen these?
Simple Homemade Hummus
PRINT PIN SAVEIngredients
- 1 (16 ounce) can chickpeas, drained*
- 2 medium garlic cloves
- 3 tablespoons lemon juice
- ¼ cup tahini*
- 1 ½ teaspoons kosher salt - or to taste
- ½ teaspoon pepper
- 2 tablespoons extra virgin olive oil
- 2 - 3 tablespoons water
- A few ice cubes
Dressing:
- 2 tablespoons extra virgin olive oil
- 1 tablespoon fresh parsley chopped
- ½ teaspoon sesame seeds
- ¼ teaspoon crushed red pepper
- Paprika for sprinkling
Instructions
To peel the chickpeas:
- To remove the peels from the chickpeas, simply place the chickpeas in a large bowl, cover with water, swish them around, and the peels will float to the top. You can use a slotted spoon to skim them out. Drain the chickpeas and set aside.
If using a high powered blender:
- Add the water into the container followed by the remaining ingredients and blend. You may have to add add additional water to get it going. Blend until smooth.
If using a food processor:
- Place garlic cloves in food processor and process until fully minced. Stop and scrape down sides of the bowl.
- Add remaining ingredients and continue to process until fully combined and pureed.
Dressing:
- Spoon hummus into a bowl and make a well in the center.
- Drizzle with extra virgin olive oil and sprinkle with remaining dressing ingredients. Garnish with chopped fresh parsley, if desired.
Notes
Nutritional Information
I don't post the nutritional value because I don't trust the accuracy of the nutritional apps. I’m not a nutritionist and don't want to post misinformation.
More delicious Dips:
See More Dips →
More Delicious Appetizers
See More Appetizers →
Did you make this recipe? Let me know!