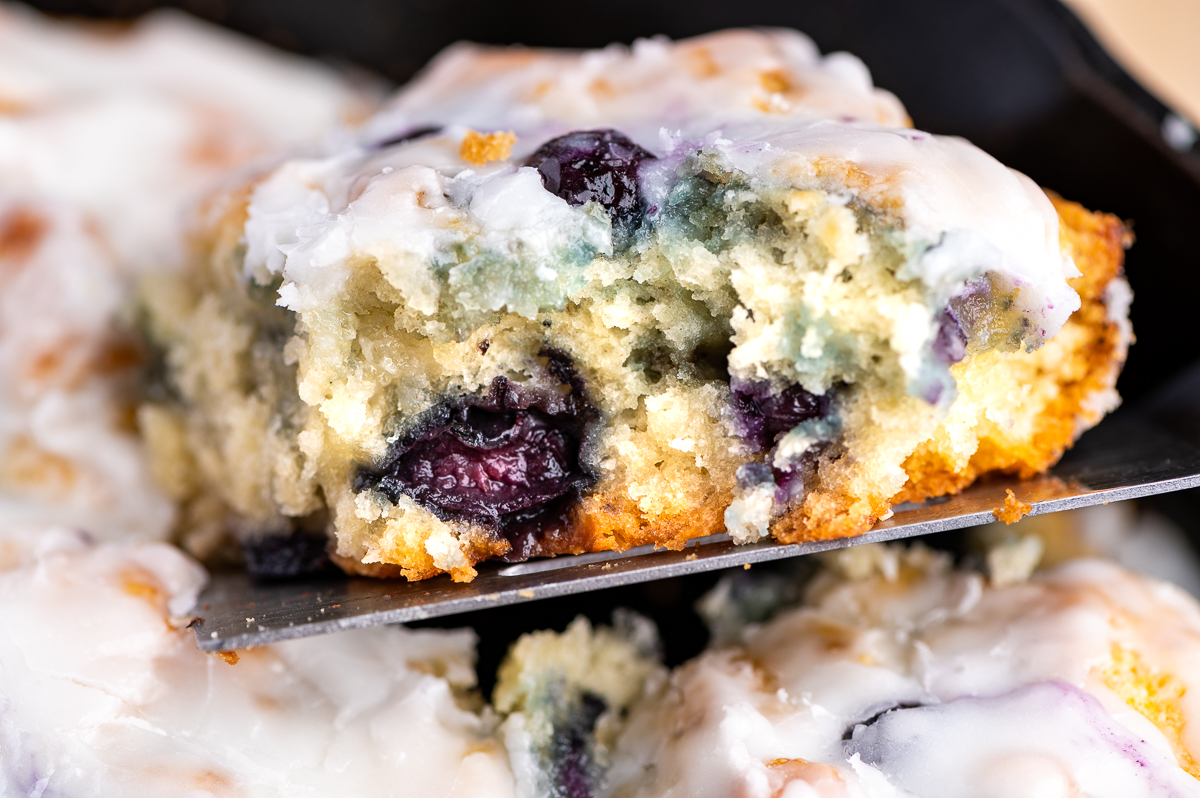
Blueberry Buttermilk Biscuits are loaded with blueberries then topped with a creamy glaze for a heavenly, buttery treat. These are made in a cast iron skillet and are a perfect way to start your day and can be served for breakfast, brunch, or even dessert.
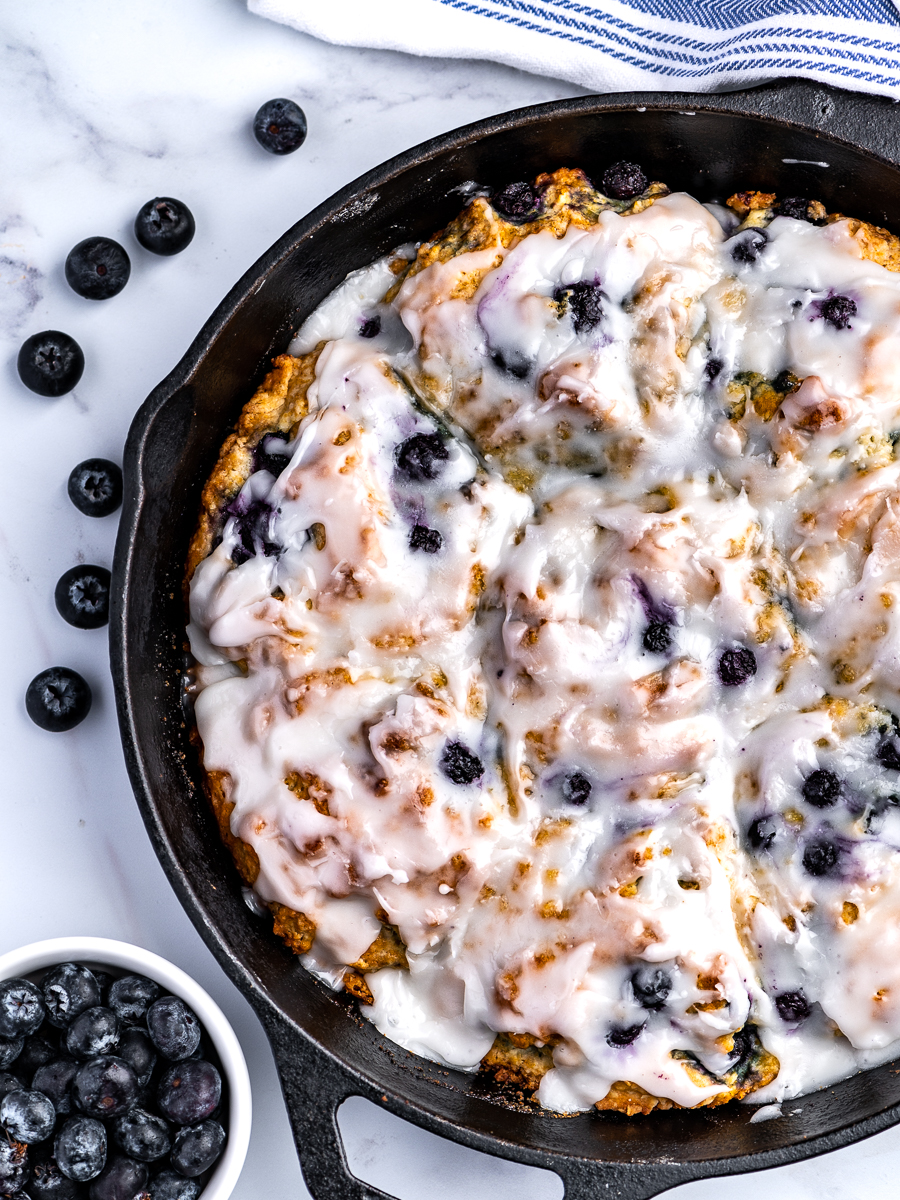
I don’t think I’ve ever met anyone who doesn’t love biscuits. I mean, who doesn’t love a flakey, soft, buttery biscuit? I have several recipes for biscuits, including a heavenly buttermilk biscuit, light and flaky baking powder biscuits, or super easy sour cream drop biscuits. This blueberry buttermilk biscuit recipe is based on my heavenly buttermilk biscuit that’s loaded with sweet blueberries then drizzled with a glaze.
Let’s talk about the blueberries. Use frozen ones for best results. Why? Because it’s important to keep the dough cold when making biscuits, and using frozen blueberries is a brilliant way to do it. Also, you can buy frozen blueberries anytime. How convenient is that?
If you don’t have buttermilk, you can make your own here. You’ll have ¼ cup remaining if using my recipe. What to do with that extra ¼ cup? Well, you can make my delicious banana bread. For this blueberry buttermilk biscuit recipe, we’ll only need ¾ cup (I have the recipe for that in the notes).
Next step, working the dough:
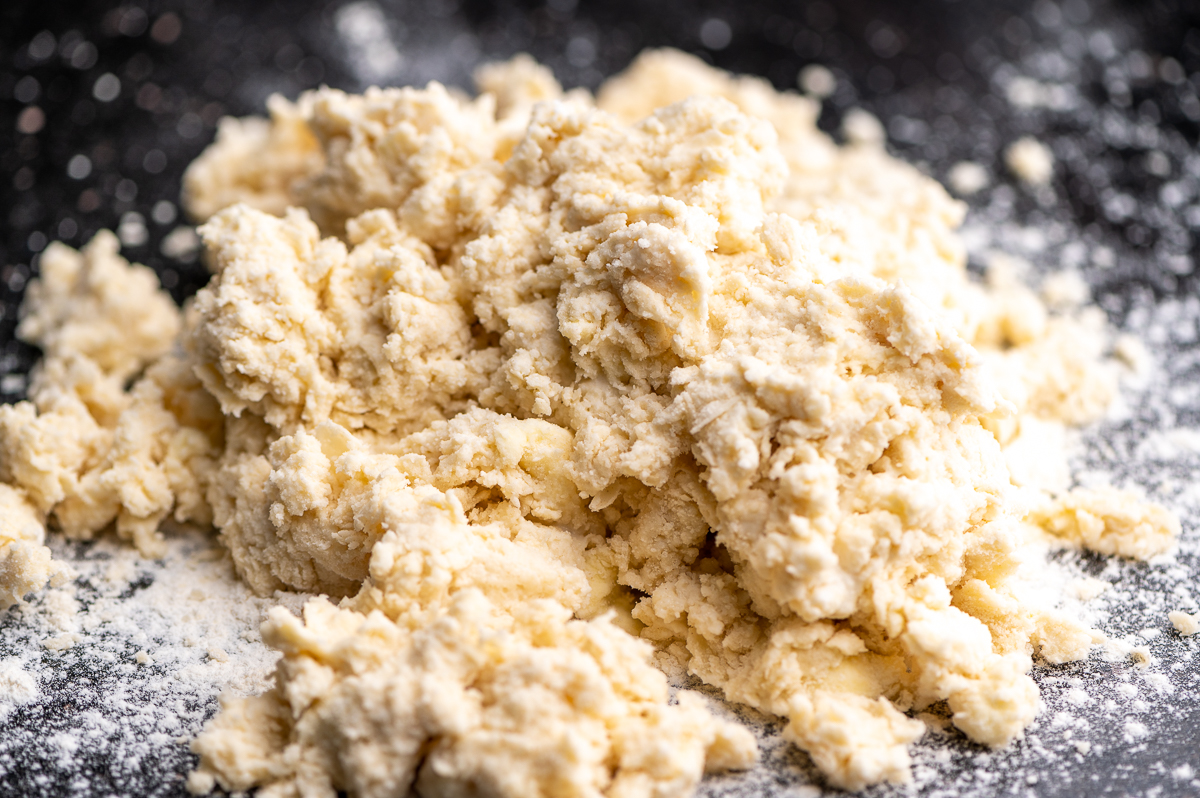
You will only lightly work this dough because the more you knead it or work it, the tougher the texture the biscuits will have. You don’t want that. Gather up the dough and make sure everything is mixed together. Do this by forming a mound, then pressing down on it. Don’t make this if you’re pissed off at something because you’ll only toughen the dough and that will just piss you off even more. If you want to take your aggression out on the dough, make my oatmeal bread or soft fluffy rolls.
Dividing the dough:
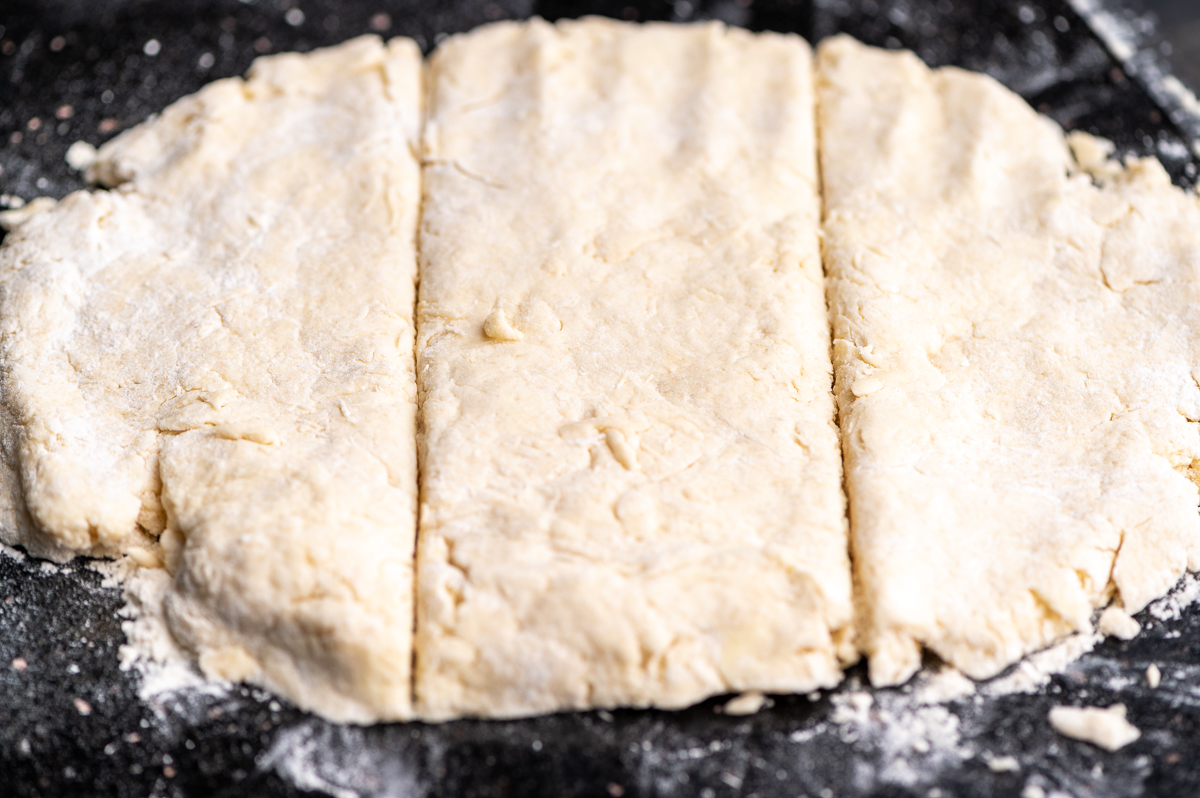
After gathering and forming the dough, flatten the dough to about ¾”. No, you don’t have to measure this. Just eyeball it because it doesn’t have to be exact.
Slice them down into thirds. When you slice, use a knife or scraper then lift it back up. Did you read this? Again, slice down using a knife or scraper then lift back up. Do not slide the knife out because you will seal the biscuits and they will not rise. Read that again, please.
Adding the blueberries:
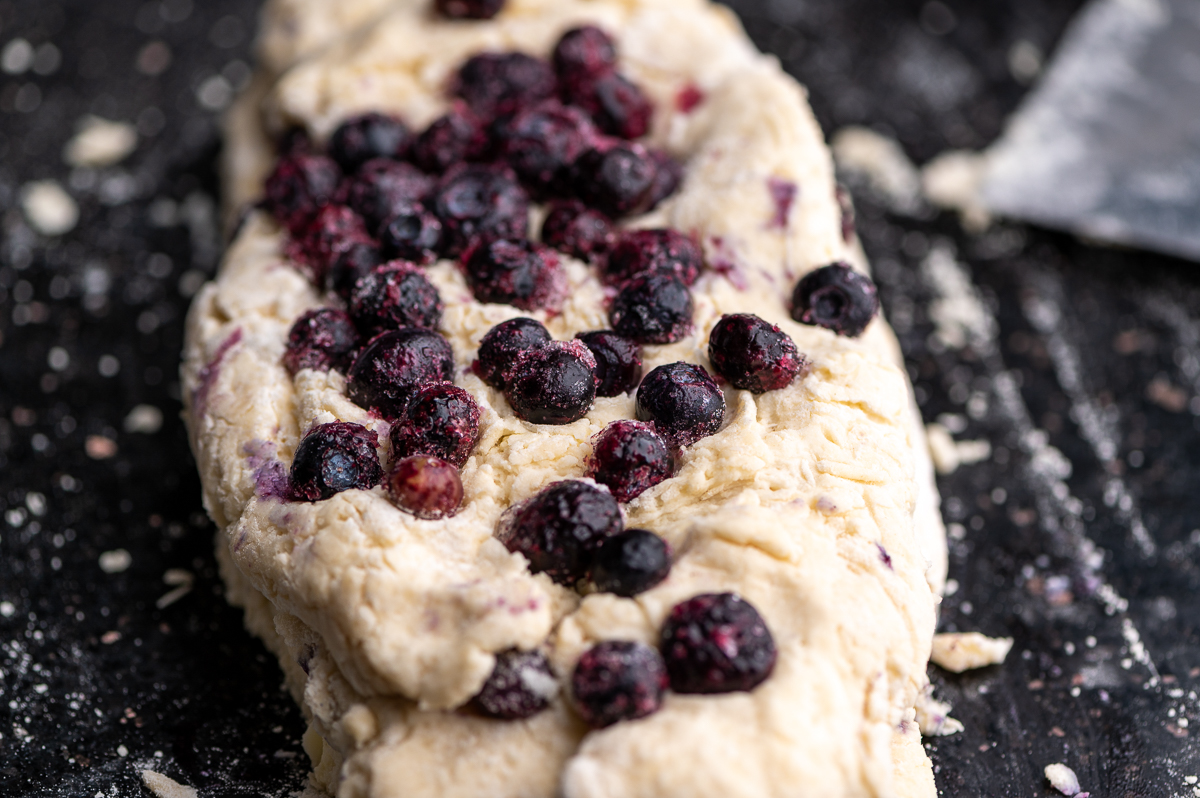
Rather than kneading in the blueberries, I like to top each layer of dough with the blueberries and press them down gently. I find it’s easier, neater, and smarter.
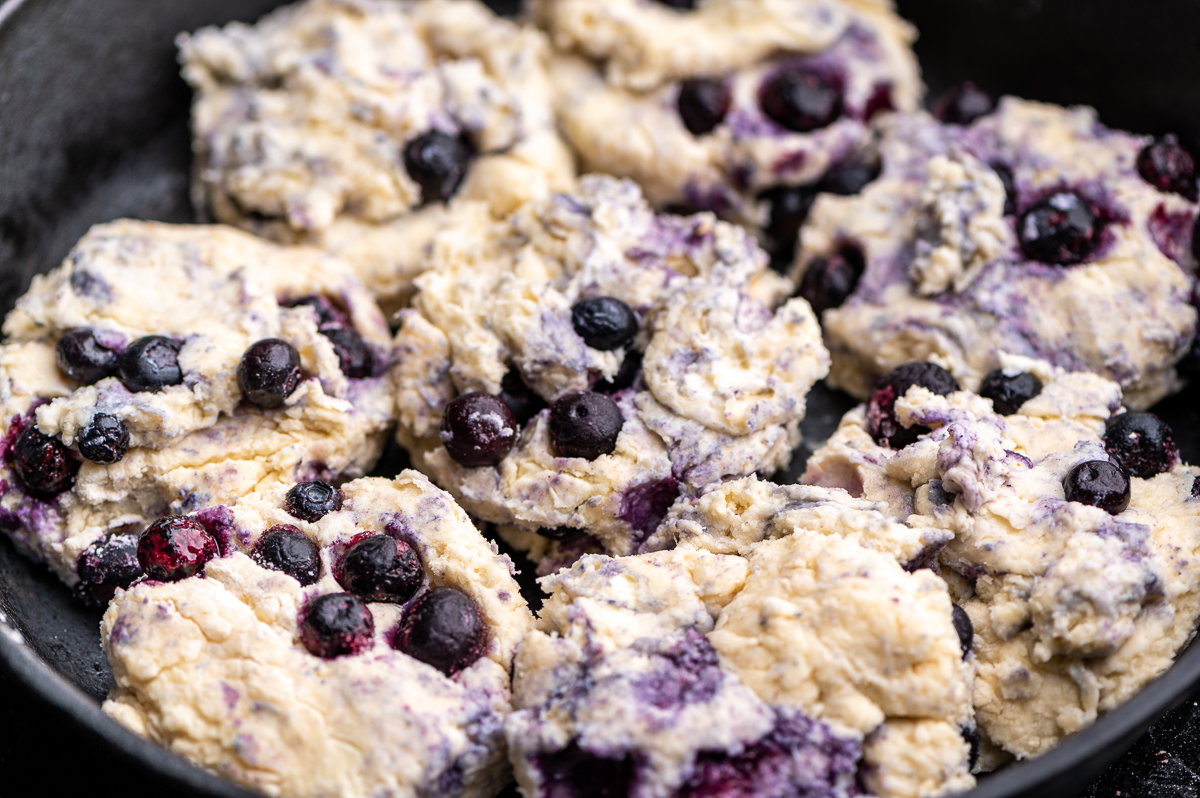
Scatter a third of the blueberries over one layer and gently press them down. Repeat with the other layer. Now, cut out the biscuits. Using a floured biscuit cutter or glass rim, press down then up. Do not twist because that will prevent them from rising. Ok? Ok.
Place the biscuits into the cast iron skillet and make sure they touch. I use a 10.25-inch cast iron skillet. Top each biscuit with remaining blueberries and gently press them in. Now brush the melted butter on top of the biscuits and if you have any remaining drizzle it all over.
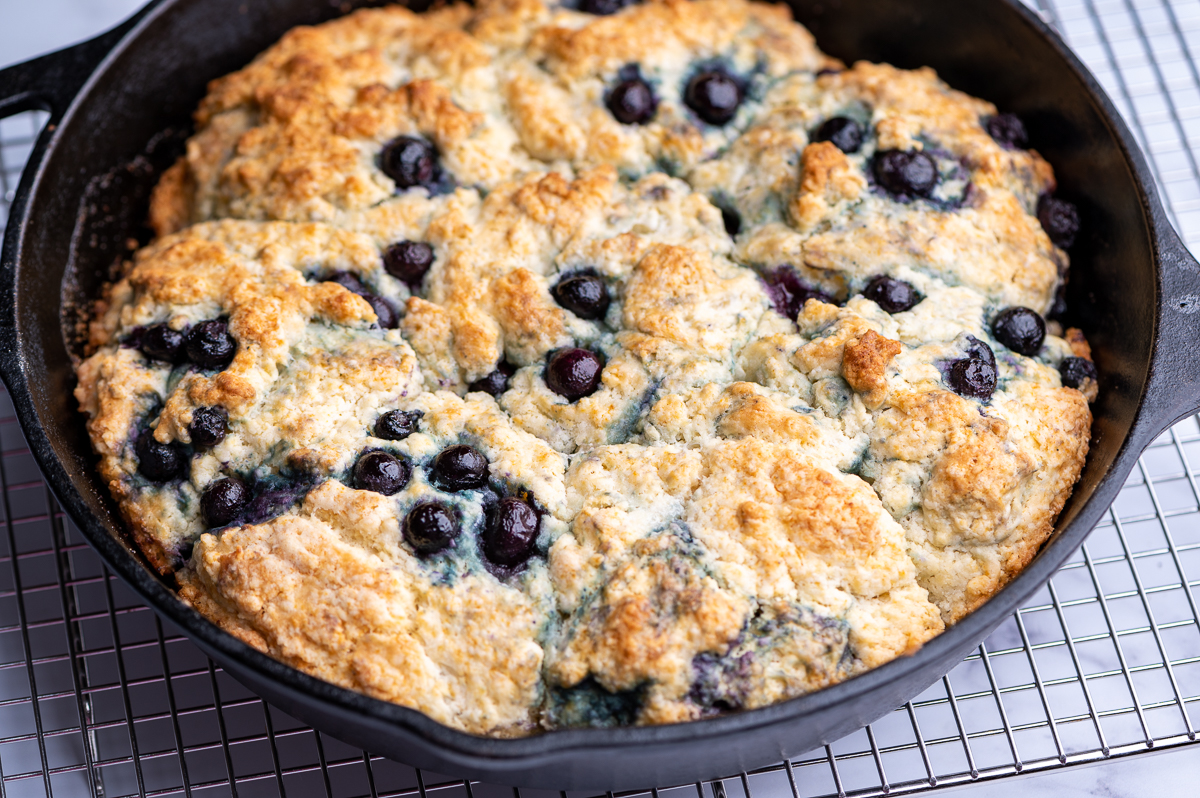
Bake and make the glaze. Just mix the glaze ingredients together. After the biscuits are baked, let them cool for about 10 minutes then drizzle with icing. If you pour on the glaze while the biscuits are hot, they will melt into the biscuit and have a thinner topping. If you wait 10 minutes or so, it will be more like a frosting. It’s up to you. The ones here were a little cooler because I was running around like a crazed monkey trying to take pictures.
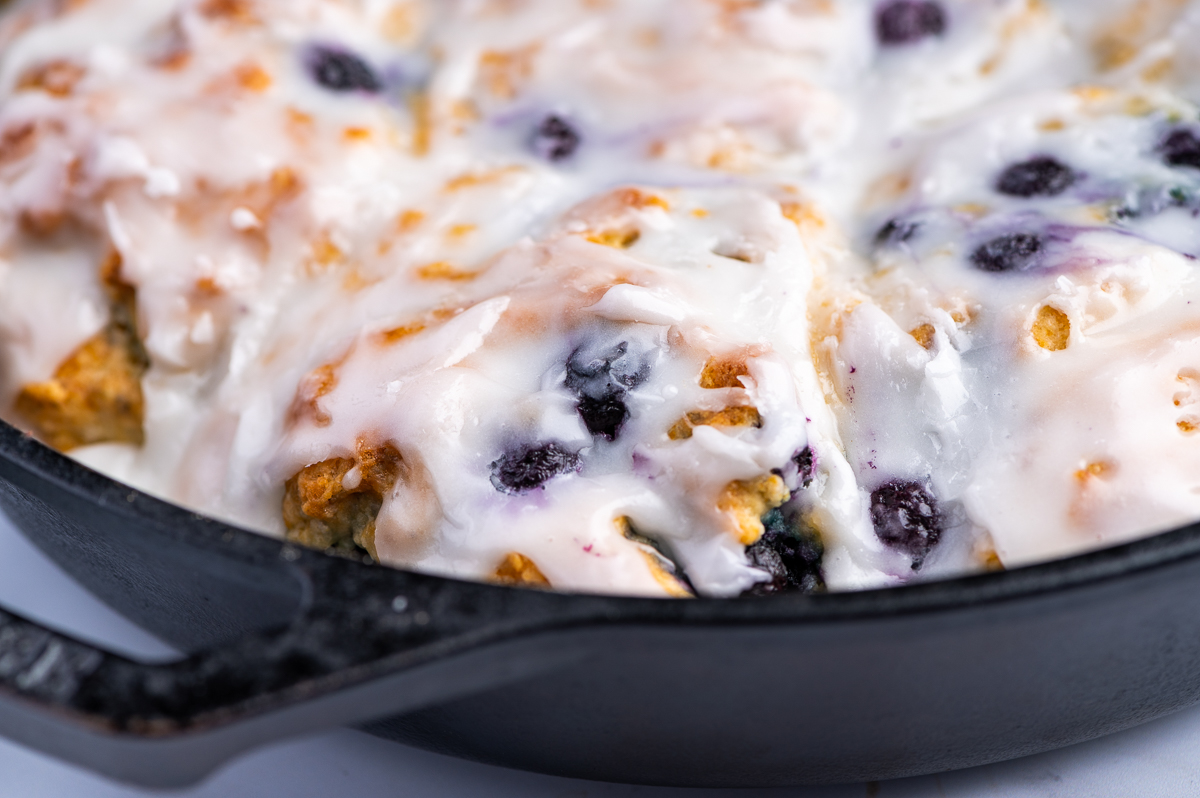
Serve these blueberry buttermilk biscuits for breakfast, brunch, snacking, or dessert. Seriously, who cares what time it is these are good anytime.
MORE DELICIOUS BREAKFAST OPTIONS
Melt in your mouth single layer blueberry cake
A simple no fuss cinnamon coffee cake
Big beautiful banana walnut streusel muffins
Life is too short for mediocre food.
HAVE YOU SEEN THESE?

BLUEBERRY BUTTERMILK BISCUITS
PRINT PIN SAVEEquipment Used
Ingredients
Biscuits:
- 2 cups flour plus a little more for dusting
- 2 tablespoons cornstarch
- 1 tablespoon baking powder
- 4 tablespoons sugar
- ½ teaspoon baking soda
- ½ teaspoon fine salt
- 8 tablespoons unsalted butter 4 ounces cold, cubed
- ¾ cup buttermilk*
- 1 cup frozen blueberries**
- 2 tablespoons butter melted
Glaze:
- 1 cup powdered sugar
- 3 tablespoons milk
- pinch of salt
Instructions
For biscuits:
- Preheat oven 425 degrees.
- Line a baking sheet with parchment.
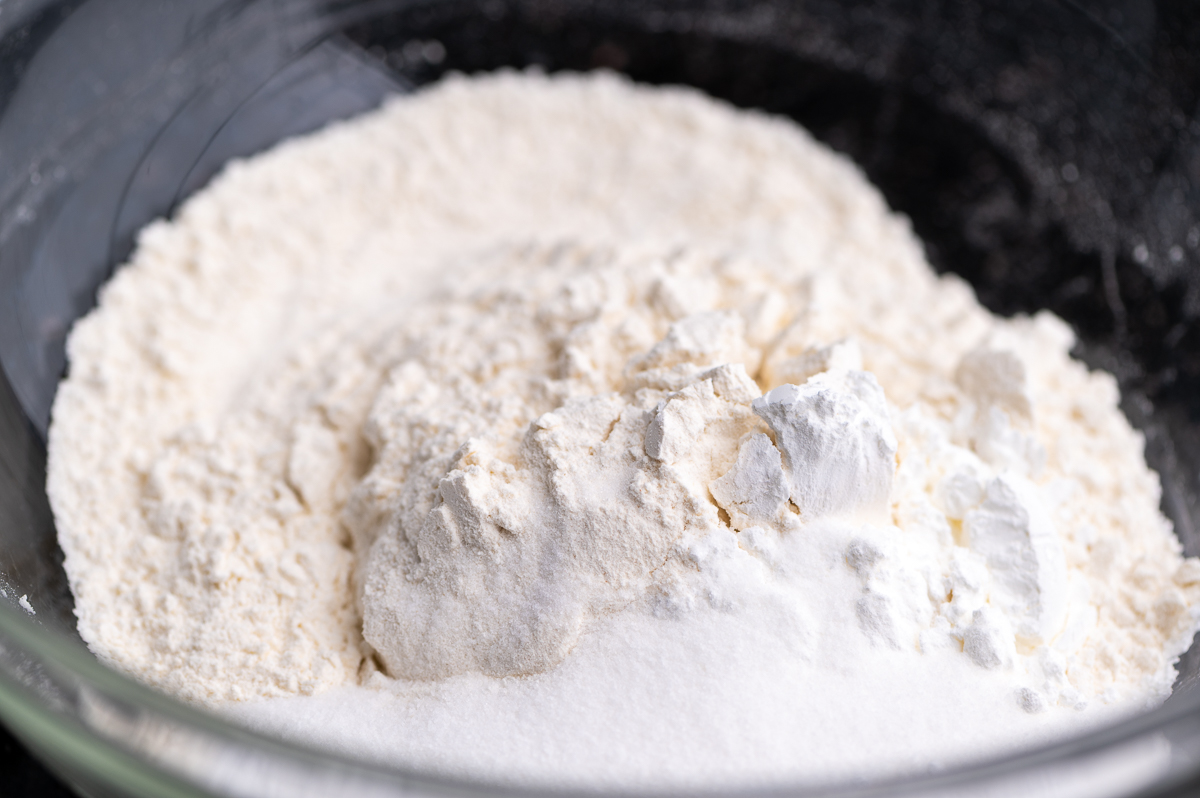
- In a large bowl, combine flour, cornstarch, baking powder, sugar, baking soda, and salt.
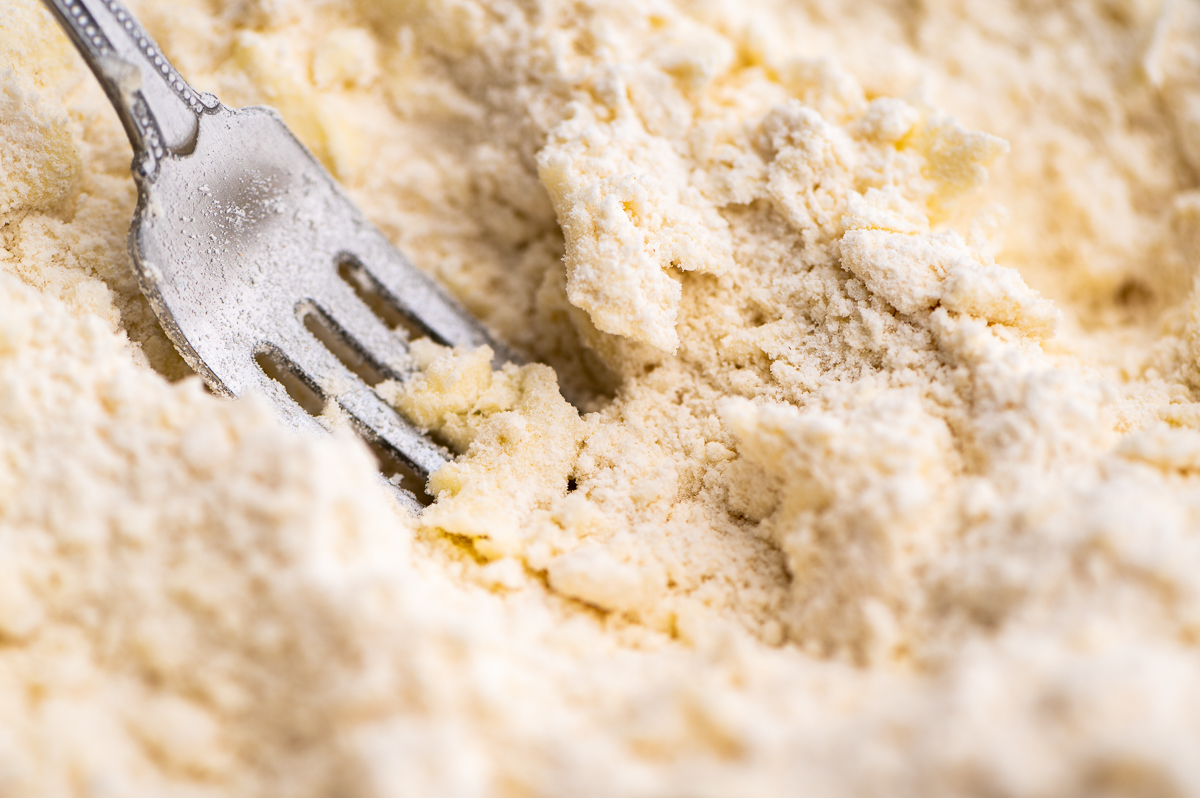
- Cut in butter using a fork or pastry cutter until small chunks of butter are incorporated throughout.
- Drizzle buttermilk while mixing with fork just until incorporated.
- Turn dough out on lightly floured counter and gather together, pressing down to ½” height. Slice the dough into thirds. When slicing, cut down and lift the knife back up. Do not slide the knife out the side as this will prevent the biscuit from rising.
- Scatter ⅓ of the frozen blueberries on top of one layer and gently press them in. Add another layer of dough on top and scatter another ⅓ of the berries. Top with the final layer and flatten the dough to about ¾” in height. You may need to dust with a little more flour.
- Using a 2 ½ - 3-inch biscuit cutter or floured glass rim, push down but do not twist. Twisting will seal the biscuit and prevent it from rising. Use the scraps to make 1 or 2 more. Remember the more you work the dough the tougher the biscuit.
- Place biscuits in a cast-iron skillet and be sure biscuits are touching. Top each biscuit with remaining berries and gently press them in.
- Brush tops with melted butter. If any butter is remaining after brushing, drizzle over biscuits.
- Bake for 20 - 25 minutes, but check at 15 because ovens vary.
- Cool biscuits for about 10 minutes, leaving them in the skillet. Drizzle with glaze. If you drizzle the glaze while the biscuits are still hot it will spread and sink in. If they’re cooler they will end up more with a frosting-like texture. Either way, they are going to be delicious.
Glaze:
- Whisk together glaze ingredients in a small bowl until smooth.
Notes
Nutritional Information
I don't post the nutritional value because I don't trust the accuracy of the nutritional apps. I’m not a nutritionist and don't want to post misinformation.





Did you make this recipe? Let me know!