
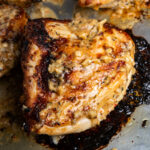


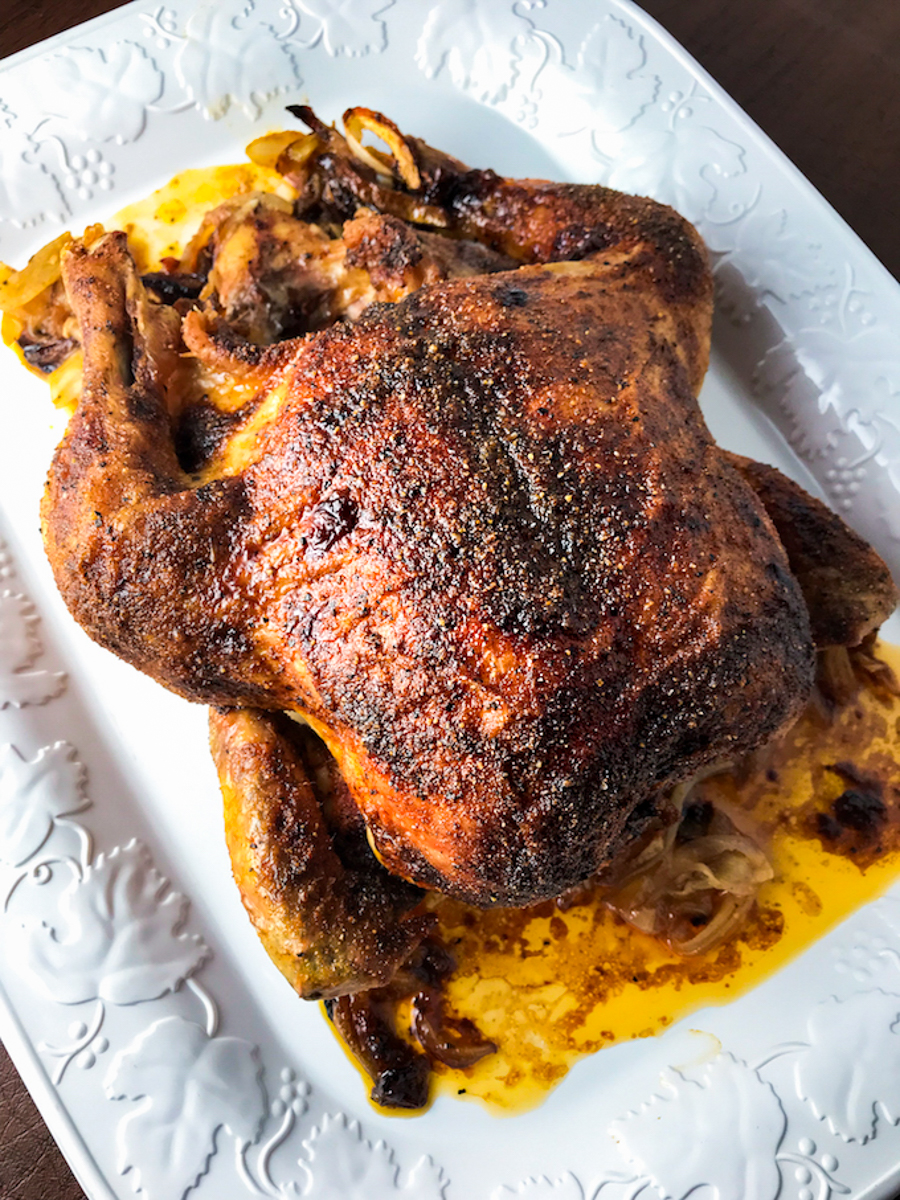
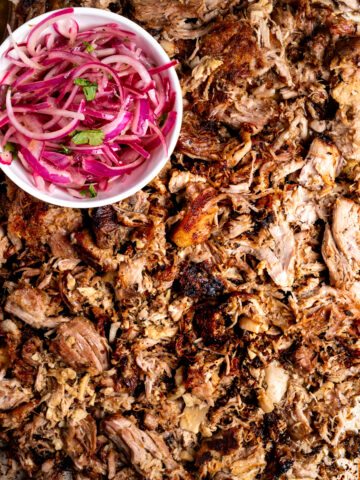
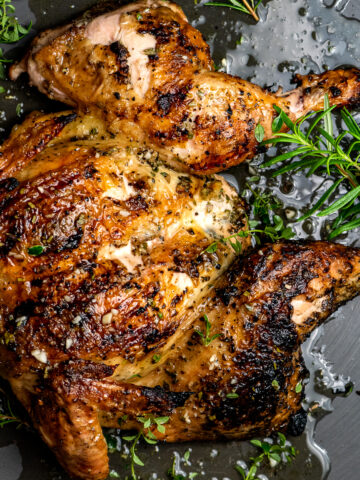
A slow roasted Chicken where the skin is so thin it melds with the meat and it's so juicy, the meat falls off the bone. It's better than any rotisserie chicken found at the market. Simple and delicious!
I have no reservations stating this chicken is absolutely fabulous...and easy! What's the secret to this chicken? Slow roasting for 3 hours on low heat.
You may think this is a lot of work and a lot of time. But, if you're looking for a juicy chicken this is your recipe.
It's mostly unattended. After preparing the chicken, place it in the oven and forget about it for 3 hours. The rotisserie chickens at the market are no challenge for my slow roasted chicken because you know what's on it and that it's fresh.
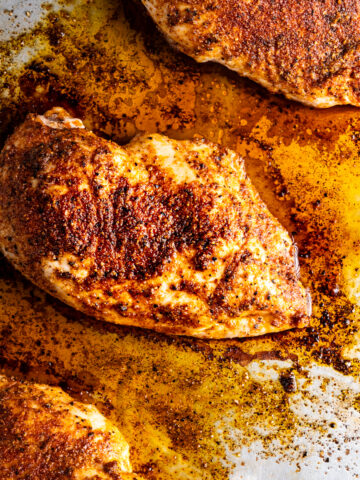
I have a beautifully plump chicken. I'm going to prepare my house seasoning consisting of kosher salt, granulated garlic powder, pepper, and paprika to give it that beautiful dark red color. The seasoning will coat the entire chicken - the back, the cavity, and the top.
I have to credit my Dad for introducing roast chicken to the family. The Peruvian side of my family mostly cook the meals on the stovetop and the Italian side of the family bake chicken cut up with potatoes and vegetables. I was never served one whole and roasted.
Cooking it for Sunday dinner turned out to be a staple in our house. The aroma of the chicken roasting makes the house feel homey. This is so EASY.
Slice a large sweet onion and layer the bottom of a baking sheet. This will serve as the resting place for the chicken when roasting. I never use a rack - mostly because they are a pain to clean.
A BAKING SHEET IS KEY FOR A PERFECTLY SLOW ROASTED CHICKEN
If you use a baking sheet and lay the chicken on a layer of onions, you will have the best vehicle for delivering a perfectly roasted chicken. Using a baking sheet is brilliant because the rim of the pan is less than an inch in height, which exposes most of the chicken ensuring perfectly roasted skin and color.
Ever see a chicken roasted where the top looks beautiful but the sides look a yellowish grey? Not only is the color a turnoff, but the skin is rubbery and unappetizing.
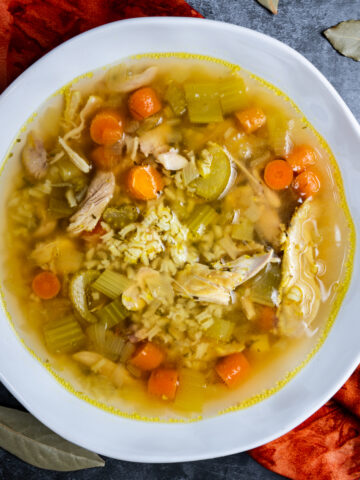
Prepare your chicken by removing the giblets and neck from the chicken cavity reserving the neck for stock. I place it in a freezer bag and freeze for future use. If you choose to make stock, try my Homemade Chicken Stock and use it to make chicken soup. I give the giblets to my dogs who always seem to appear and lay down in the kitchen when I start to cook.
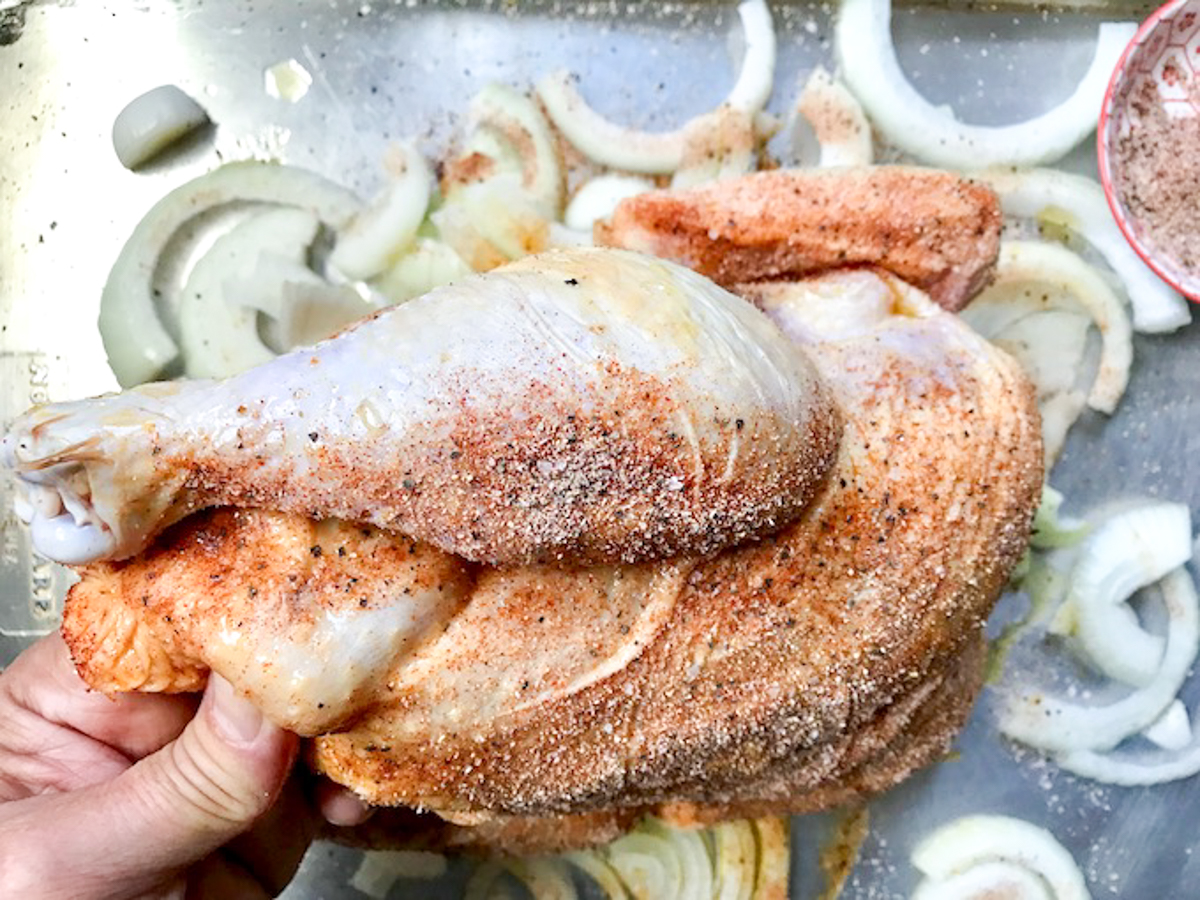
Tuck in the wings to prevent the wingtips from burning. This also makes the roast more attractive. You don't have to do this, but I always do.
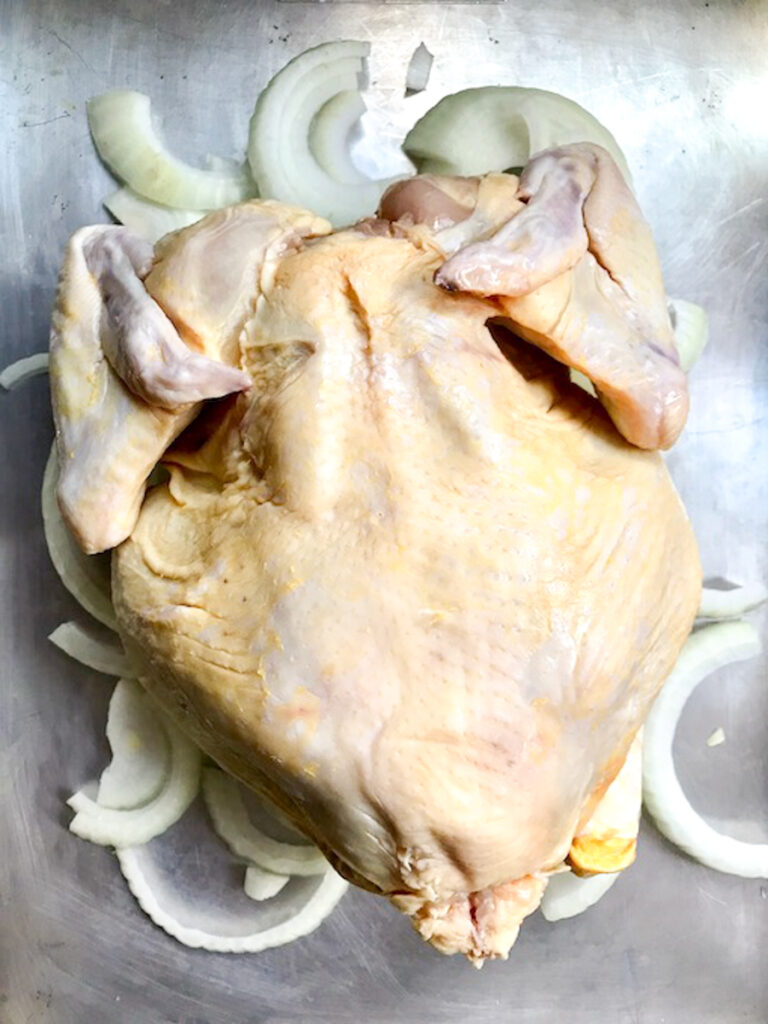
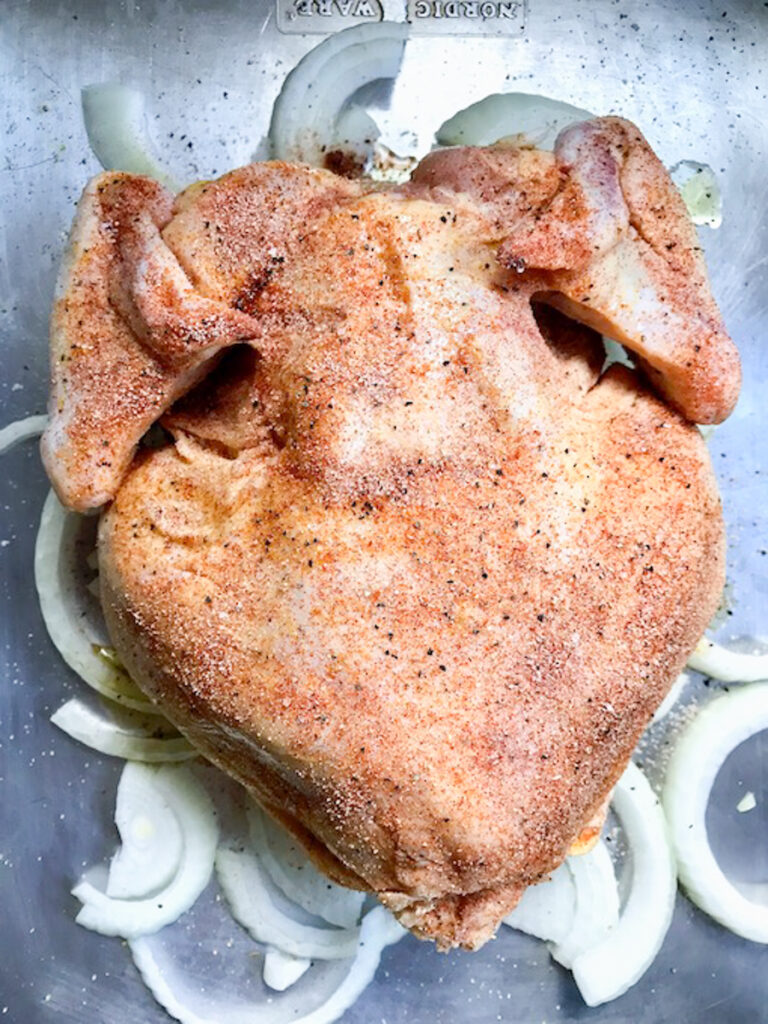
Place the chicken breast side down on top of the sliced onions then drizzle the chicken and onions with olive oil. Season the cavity and bottom of chicken with the seasoning.
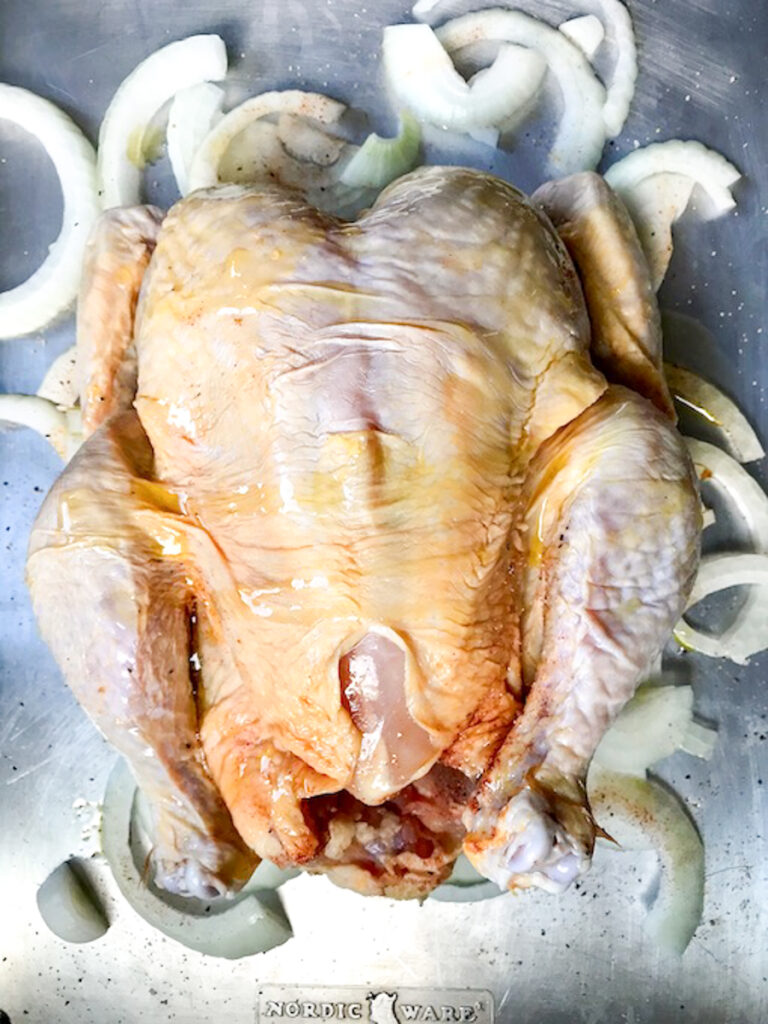
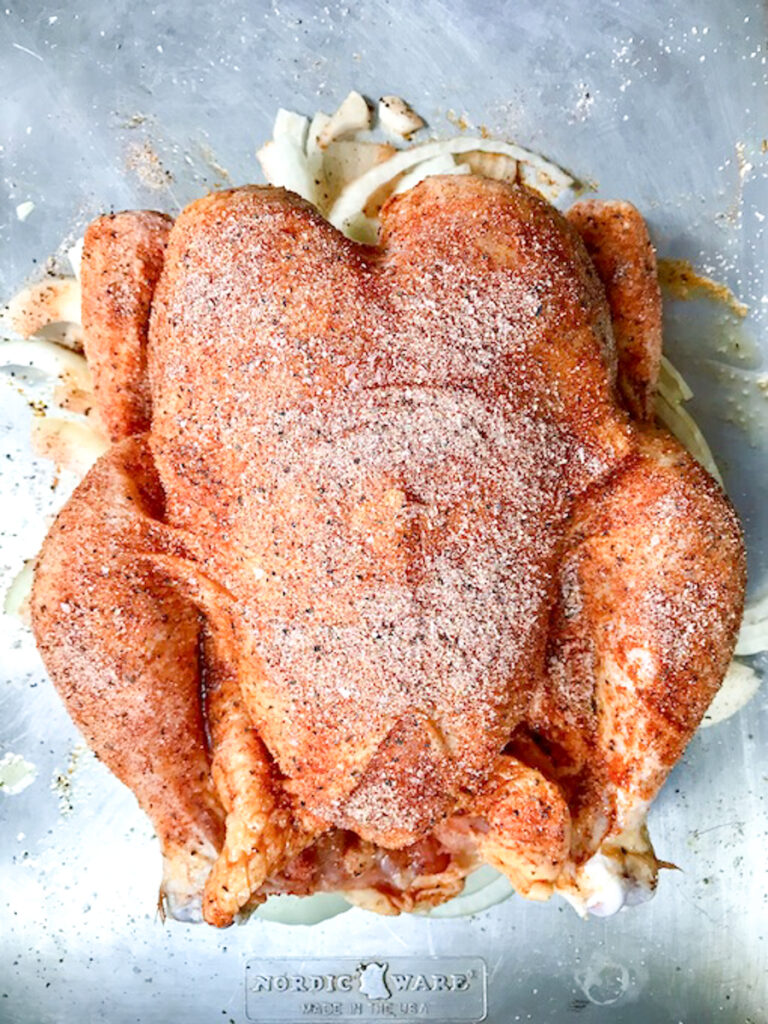
Flip chicken over and drizzle the top with more olive oil. Rub it all around the top of the chicken and season the entire top. Don't forget the sides!
Place in a preheated 300-degree oven for three hours. I've also roasted chickens at 275 for 4 hours and at 250 for 5 hours. It depends on how much time you have that day.
Temperature should read 165 degrees when an instant read thermometer is inserted into the thickest part of the thigh without touching the bone.
DON'T HAVE A THERMOMETER? HERE ARE OTHER WAYS TO CHECK WHEN YOUR SLOW ROASTED CHICKEN IS DONE
- Piercing the thigh and checking if juices run clear.
- My Dad would take out the chicken, cut along the thigh separating it a little from the body, and if it wasn't pink and juices ran clear, it was done. Must have worked since we're all still alive.
- You can also tilt the chicken up and let the juices run out of the cavity. If it's not red, it's okay. Trust me, you will know if you have an undercooked chicken once you slice into it.
- Wiggling the leg will also tell you if it's done. It should wiggle freely but don't wiggle to hard with this chicken because the bone will slide right off!
Cooking isn't rocket science, it's common sense. It's pretty much a guarantee it will be done after 3 hours. But if it is not quite done, just stick it back in the oven. Ovens vary as I found out when I got my new oven. It ran differently and I had to adjust cooking times. If only things were made to be consistent - just like sizes in clothes. But, don't get me going on that.
The onions that were on the sides of the chicken turn dark brown or black and you may think they're inedible, but they are crunchy and delicious. I eat them up without sharing.
The onions on the bottom of the chicken are soft, flavorful, and tender and I serve those along side of the chicken drizzled with the pan juices which is amazing!
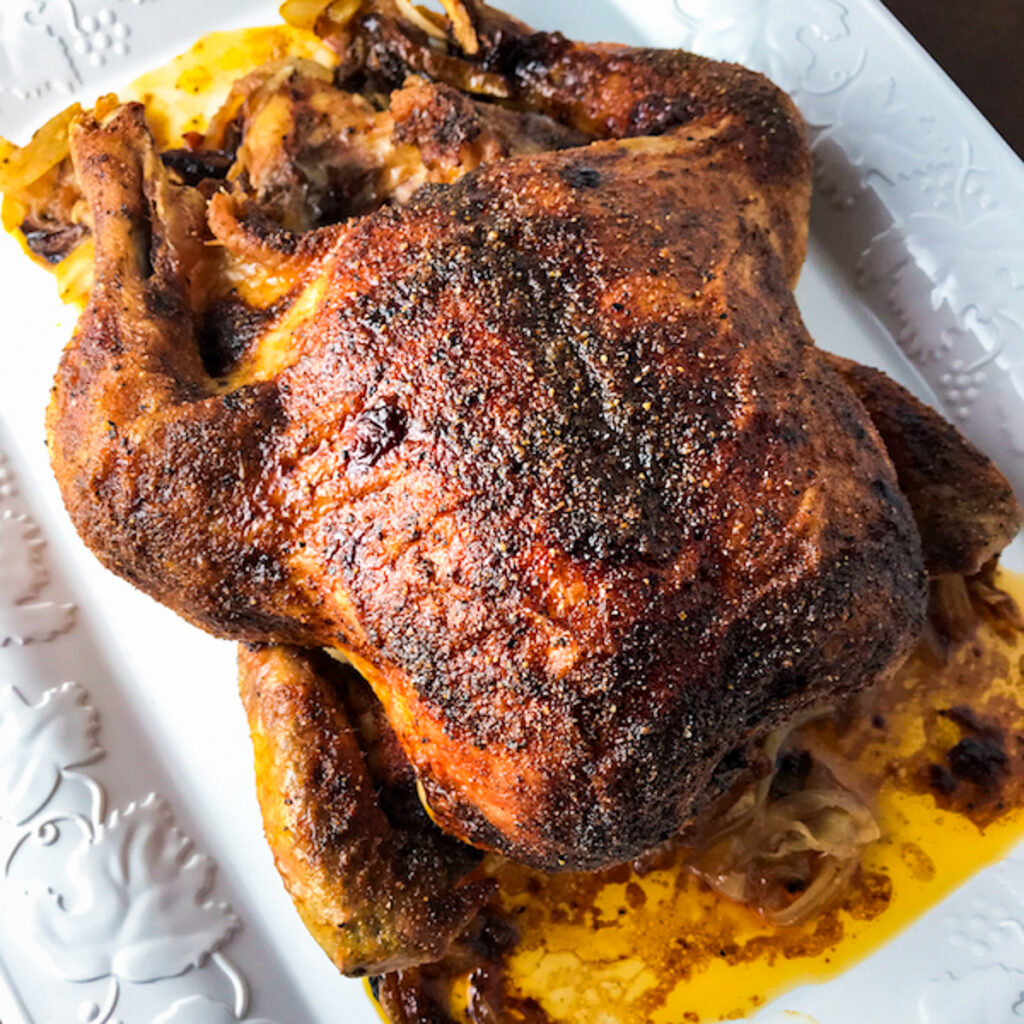
Drizzle the juices all over the chicken before serving. It's not necessary to baste the chicken when roasting. When the chicken is done, the skin is melted and becomes one with the meat.
Rest ten minutes before carving. You may not need a knife as the meat is so tender it falls off the bone.
Let me tell you...this slow roasted chicken is amazing. The meat is juicy, flavorful, and tender. Give it a try and let me know what you think.
THIS SLOW ROASTED CHICKEN PAIRS PERFECTLY WITH:
- Spinach watermelon feta salad with lime vinaigrette
- Sweet and tangy cucumber salad
- Mexican street corn salad
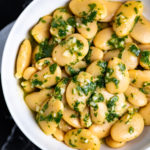
- Peruvian oil and vinegar potato salad
- Spinach and cheese pasta salad
- Simple creamy coleslaw
- 30 minute bourbon baked beans
- Perfect mashed potatoes
- Perfect rice
- Cilantro lime rice
Don't forget the Cranberry Sauce!
Life is too short for mediocre food.
HAVE YOU SEEN THESE?
PIN THIS RECIPE FOR SLOW ROASTED CHICKEN TO SAVE FOR LATER.
CHECK OUT MY SHOP FOR PRODUCTS I RECOMMEND
FOLLOW ME ON PINTEREST FOR MORE DELICIOUS RECIPES!

SLOW ROASTED CHICKEN
PRINT PIN SAVEEquipment Used
Ingredients
- 1 (4 - 4 ½) pound chicken neck and giblets removed
- 1 tablespoon kosher salt
- 2 teaspoons granulated garlic
- 1 teaspoon pepper
- 1 teaspoon paprika
- 1 large sweet onion sliced* See NOTES 1
- extra virgin olive oil
Instructions
- Preheat oven 300°F. See NOTES 2
- Combine kosher salt, garlic, pepper, and paprika into a small bowl.
- Rinse out cavity and pat dry chicken with paper towels.
- Transfer the sliced onion on a baking sheet and spread it out to accommodate the size of the bird. The chicken will be resting on the onions to absorb flavor, but you also want to roast/blacken the onions to get unbelievable flavorful crunchy onions.
- Sprinkle the cavity with a few good pinches of seasoning.
- Lay the chicken on top of the onions back facing up.
- Drizzle the chicken and onions with olive oil. Rub the chicken all around back with oil.
- Sprinkle the chicken with ½ of the remaining seasoning.
- Flip chicken breast side up.
- Drizzle the top of the chicken with more olive oil and rub it in. Get into the crevices.
- Sprinkle the chicken with remaining seasoning.
- Place in a preheated 300° oven for 3 hours. Temperature should read 165° when inserted on thickest part of thigh without touching bone. The time can be checked after 3 hours.
- Remove the chicken. Use a spoon to scoop up the juices and drizzle it over the chicken.
- Rest ten minutes before carving. You probably won't need a knife. It falls off the bone. Serve with the onions.
Notes
Nutritional Information
I don't post the nutritional value because I don't trust the accuracy of the nutritional apps. I’m not a nutritionist and don't want to post misinformation.
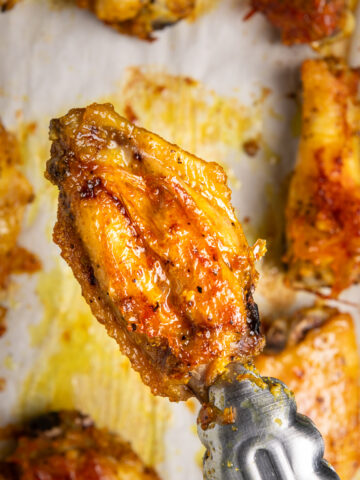
MORE DELICIOUS CHICKEN RECIPES
See More Chicken →

Bea
Made this for dinner tonight and everyone enjoyed it. Chicken was falling off the bone and still moist.
I threw in some carrots and fingerling potatoes half way through the cooking time.
Stacy
Do you need to cover with foil for some of the cook time or uncovered the entire time?
Natalie
You leave it uncovered the entire time.
Karen Condon
Had great success my first try! My husband said best roast chicken in his whole life. Doing it again today with bigger bird
Thank you!
Natalie
That is awesome! Thank you for commenting. I'm so happy you liked it and you made my day. Take care and stay safe. -x
Kim
Definitely going to try this method. We raise our own meat birds and they weigh around 7.5 lbs. Any idea how many hours a bird that large would take at 300 degrees?
Natalie
Wow that's a big bird! I have never cooked one that large but I would check after 5 hours and then gage from there. The great thing about this meal is you can eat it at room temperature so if it has to sit it's fine. Just tent with foil. Let me know how it turns out. I bet it's going to be delicious.
Cheryl
Love this! I make one just about every Sunday ❤
Linda Lum
I have a large chicken (5 1/2 pounds). Do you have any recommendations on how long to cook it?
Natalie
I have cooked one close to 5 pounds and still found it to be done in 5 hours. If slow roasting at 250, I would still check after five hours using a thermometer to check if temp is 165 degrees as stated above. You can also check by pulling the leg away and see if it pulls away easily. If it does, it's done. I have cooked smaller chickens for 5 hours with no problems with it being dry. So if you have to add 30 minutes or so for a larger bird you should be fine. I would check after 5 hours and add 30 minutes from there and check again. Let me know how it turns out and thank you for visiting. 🙂
Bailey
Have you tried using a bundt cake pan and slow roasting the chicken standing with the center of the pan up the chicken's booty? I would think it would cook more evenly...
Natalie
Hi Bailey,
I have not tried that but I hear it's the new rage. The reason for using a baking sheet is that it exposes the whole chicken when roasting. If you roast a chicken in a high rimmed pan, you'll find the part of the chicken covered by the higher sides doesn't develop the beautiful color achieved by a baking sheet. Ever see a roast chicken where the skin is grayish or dull yellow? That's what I try to avoid. The other reason for not standing it up is the breast is closer to the heat when in that position. The breast cooks quicker than the dark meat of the thighs and legs so by the time the dark meat is cooked, the white meat is overlooked. I find resting the chicken on the veggies, coating with oil and spice and using a baking sheet is my preferred method. I bet the chicken appreciates it too! I hope that answered your question. Thanks for commenting!